Introduction
Taking a screenshot is one of the simplest yet most essential skills for any laptop user. Whether you’re saving a receipt, capturing a presentation slide, or sharing an issue with support, knowing how to take a screenshot efficiently can save time and frustration. If you own a Microsoft Surface Laptop, you’ll be glad to know that there are multiple easy ways to do it. This article offers Screenshot On A Surface Laptop A Comprehensive Guide — covering every method, shortcut, and professional tip to help you capture your screen like a pro.
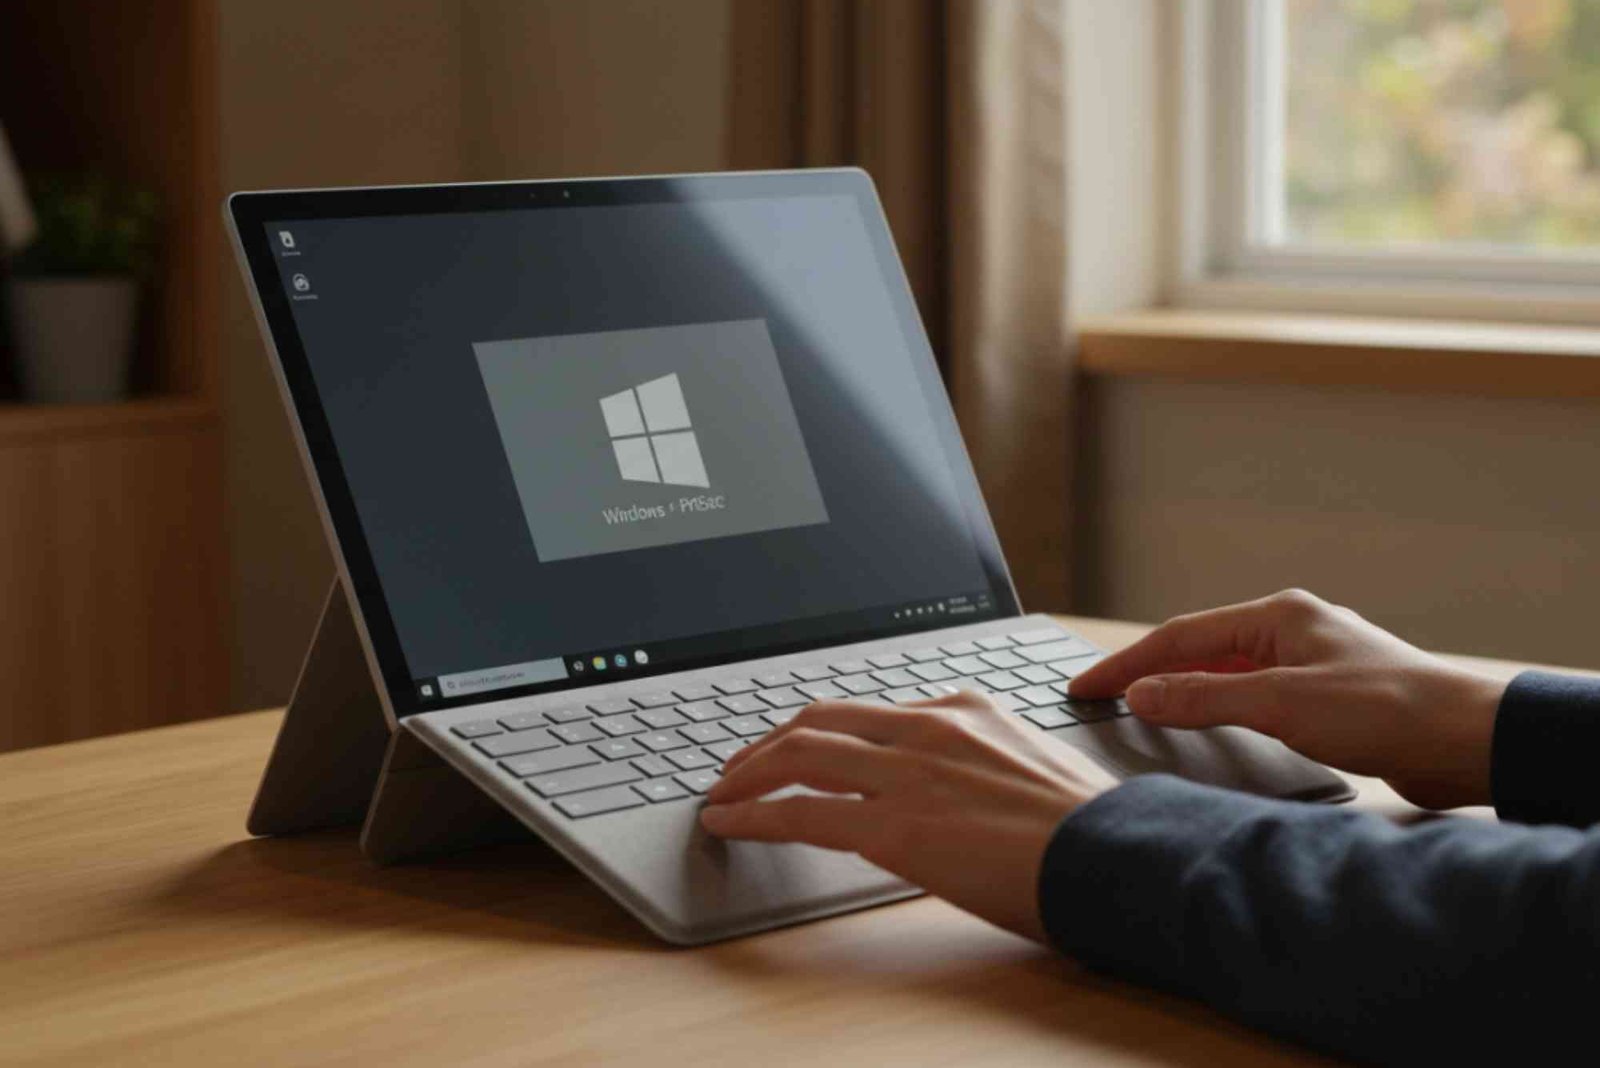
Understanding the Surface Laptop Layout
Before diving into screenshot shortcuts, it’s useful to understand the unique design of the Surface Laptop. Unlike many other Windows laptops, Surface devices combine the power of a traditional computer with the versatility of a tablet. Some models, like the Surface Laptop Studio or Surface Pro, have detachable or foldable screens. This hybrid design means that different screenshot methods may apply depending on your model and whether you’re using the keyboard or touchscreen.

How to Take a Screenshot Using Keyboard Shortcuts
The easiest way to capture your screen on a Surface Laptop is by using keyboard shortcuts. Windows provides several built-in key combinations for quick and efficient screen capture.
Method 1: Print Screen (PrtScn) Key
Pressing the PrtScn key captures the entire screen and copies it to your clipboard. You can then paste it into any image editor or document.
-
Press PrtScn on your keyboard.
-
Open Paint, Word, or any image editing software.
-
Press Ctrl + V to paste your screenshot.
-
Save the file as an image.
This method is simple, but it doesn’t automatically save your screenshot. It’s best for quick captures that you plan to edit or share immediately.
Method 2: Windows + PrtScn
To save your screenshot directly to your computer:
-
Press Windows + PrtScn simultaneously.
-
Your screen will briefly dim to indicate a successful capture.
-
The screenshot will be saved automatically in the Pictures → Screenshots folder.
This is one of the fastest methods and ideal for users who take frequent screenshots without editing.
Method 3: Alt + PrtScn
If you only want to capture the active window rather than the entire screen:
-
Click on the window you want to capture.
-
Press Alt + PrtScn.
-
Paste it into an app like Paint or Word.
This shortcut is great for multitasking users who only need a specific app’s view.
How to Take Screenshots on a Surface Laptop Without Keyboard
If you’re using your Surface in tablet mode or don’t have access to the keyboard, you can still take screenshots easily.
Using Power + Volume Up Buttons
Just like on smartphones, you can use physical buttons on your Surface Laptop or Surface Pro:
- Hold down the Power button.
- Press the Volume Up button simultaneously.
- The screen will dim, and the screenshot will be saved in Pictures → Screenshots.
This method works perfectly in tablet mode and is ideal for touchscreen-only use.
Using the Surface Pen
The Surface Pen offers another efficient option for capturing screenshots:
- Double-click the top button on the Surface Pen.
- The screen capture tool opens automatically.
- You can crop or annotate your screenshot before saving it.
If your pen doesn’t respond, check your Bluetooth settings or update your Surface drivers.
Using Built-In Windows Tools for Screenshots
Beyond keyboard shortcuts, Windows offers several dedicated tools for more control and customization when taking screenshots.
Snipping Tool
The Snipping Tool is a classic and versatile screenshot application built into Windows.
-
Open the Start menu and type Snipping Tool.
-
Click New to start capturing.
-
Choose from Free-form, Rectangular, Window, or Full-screen Snip.
-
Save or annotate your screenshot.
It’s perfect for users who want to select a specific part of the screen instead of the entire view.
Snip & Sketch
Microsoft’s newer Snip & Sketch app (now merged with Snipping Tool in Windows 11) enhances the traditional screenshot experience.
-
Press Windows + Shift + S.
-
The screen will dim slightly, and a small toolbar will appear.
-
Select the area of the screen you want to capture.
-
The screenshot is copied to your clipboard and can be edited in Snip & Sketch.
This method allows quick editing, annotation, and sharing — all within seconds.
Using Third-Party Screenshot Tools
If you want advanced options like scrolling captures, automatic cloud storage, or custom shortcuts, third-party apps are a great choice. Some popular tools include:
Lightshot – Lightweight and easy to use, perfect for quick captures and sharing.
Greenshot – Great for professionals; offers annotations, arrows, and text tools.
Snagit – Best for creators; includes video capture and advanced editing.
These apps can make capturing tutorials, documents, or reports even more efficient.
How to Edit and Annotate Screenshots
After taking a screenshot, you may want to highlight details or add notes. Windows provides built-in editing tools, but third-party software can elevate your workflow.
Editing with Snipping Tool
When you capture using the Snipping Tool, use the pen or highlighter to mark important areas. You can also crop unnecessary sections before saving.
Editing with Photos App
Right-click your saved screenshot and choose Open with → Photos. Click Edit & Create → Draw to annotate using different colors or tools.
Using Snagit for Professional Editing
Snagit allows you to blur sensitive Screenshot On A Surface Laptop information, add arrows, captions, and even record your screen. This is ideal for creating tutorials or support documentation.
Common Problems and How to Fix Them
Even though screenshotting is easy, users sometimes face technical issues. Here are a few common problems and their solutions:
Problem: The Print Screen key doesn’t work.
Solution: Check if the Fn (Function) key is required. Try pressing Fn + PrtScn.
Problem: Screenshots don’t save automatically.
Solution: Ensure your Pictures folder exists or manually create the Screenshots subfolder.
Problem: The Snipping Tool shortcut isn’t responding.
Solution: Restart the app or update Windows. Use Windows + Shift + S as an alternative.
Problem: Surface Pen doesn’t trigger screenshots.
Solution: Reconnect via Bluetooth settings and verify battery health.
Tips for Better Screenshots
To make your screenshots look professional, try these expert tips:
-
Use consistent dimensions for all screenshots if preparing a guide or report.
-
Clean up your desktop before capturing for a polished look.
-
Highlight only the relevant section of the screen.
-
Name your screenshots clearly, such as “Surface_Settings_Menu.png.”
-
Keep a dedicated folder for your captures to stay organized.
These tips not only save time but also improve clarity and visual appeal.
Why Knowing Screenshot Shortcuts Matters
Screenshots are crucial for productivity, communication, and education. Whether you’re a student collecting research, a business user sharing technical issues, or a creator producing content, mastering screenshot shortcuts enhances your workflow. Understanding these methods ensures you can capture and share visuals instantly without breaking your momentum.
If you’re interested in exploring more technology-related tips and guides, visit Screenshot On A Surface Laptop A Comprehensive Guide for further insights into improving your device experience.
Learning how to take a screenshot on your Surface Laptop is one of the most useful skills you can master. With multiple built-in shortcuts, touchscreen methods, and advanced editing tools available, you can capture, customize, and share your screen with ease. Whether you’re troubleshooting a problem, saving important data, or creating tutorials, these techniques make your workflow faster and more professional.
For more expert tutorials and digital productivity tips, explore other Related Tech article that guide you through the latest in technology trends and solutions. To stay updated on new features, reviews, and device comparisons, Learn more about how technology can simplify your life today.
FAQs
How do I take a screenshot on a Surface Laptop without the keyboard?
Press the Power and Volume Up buttons together. Your screenshot will save automatically in the Pictures → Screenshots folder.
Where are screenshots saved on a Surface Laptop?
By default, they are saved in Pictures → Screenshots, unless you use a tool like Snipping Tool, which lets you choose a custom folder.
Can I take a screenshot of only one window?
Yes. Click the window and press Alt + PrtScn. Paste it into Paint or Word to view and save.
Does Surface Laptop have a screenshot button?
There’s no dedicated button, but you can use the PrtScn, Windows + PrtScn, or Windows + Shift + S shortcuts for quick captures.
How can I edit or crop screenshots on a Surface Laptop?
Use the Snipping Tool, Photos app, or third-party editors like Snagit to crop and annotate screenshots easily.