Introduction
Taking a screenshot on a Surface Laptop seems simple, yet many users struggle to find the method that suits them best. Whether you’re a student saving notes, a professional capturing reports, or someone troubleshooting a technical issue, knowing how to take screenshots efficiently can save time and effort. This article, Practical Tips: Screenshot On A Surface Laptop A Comprehensive Guide, offers a complete look at all the reliable and quick ways to capture your screen on a Microsoft Surface Laptop. From keyboard shortcuts to advanced tools, we’ll walk you through every method to ensure you master this skill with ease.
Understanding the Basics of Screenshots on Surface Laptops
Before diving into specific methods, it’s essential to understand what a screenshot actually is. A screenshot captures a digital image of what’s displayed on your screen at a specific moment. On the Surface Laptop, Windows 10 and Windows 11 offer multiple built-in tools that make this process fast and flexible. Depending on what you need—whether a full screen, a single window, or a selected area—different shortcuts and apps can be used effectively.
The Surface Laptop combines touch functionality with a traditional keyboard, so users can choose between manual key commands or using a stylus or touchscreen gestures. This hybrid flexibility is one of the reasons Surface devices are ideal for both productivity and creativity.
Using Keyboard Shortcuts for Fast Screenshots
Keyboard shortcuts are the quickest way to capture your screen. They require no setup and can instantly save your screenshot to a folder or clipboard.
Print Screen (PrtScn) Key Method
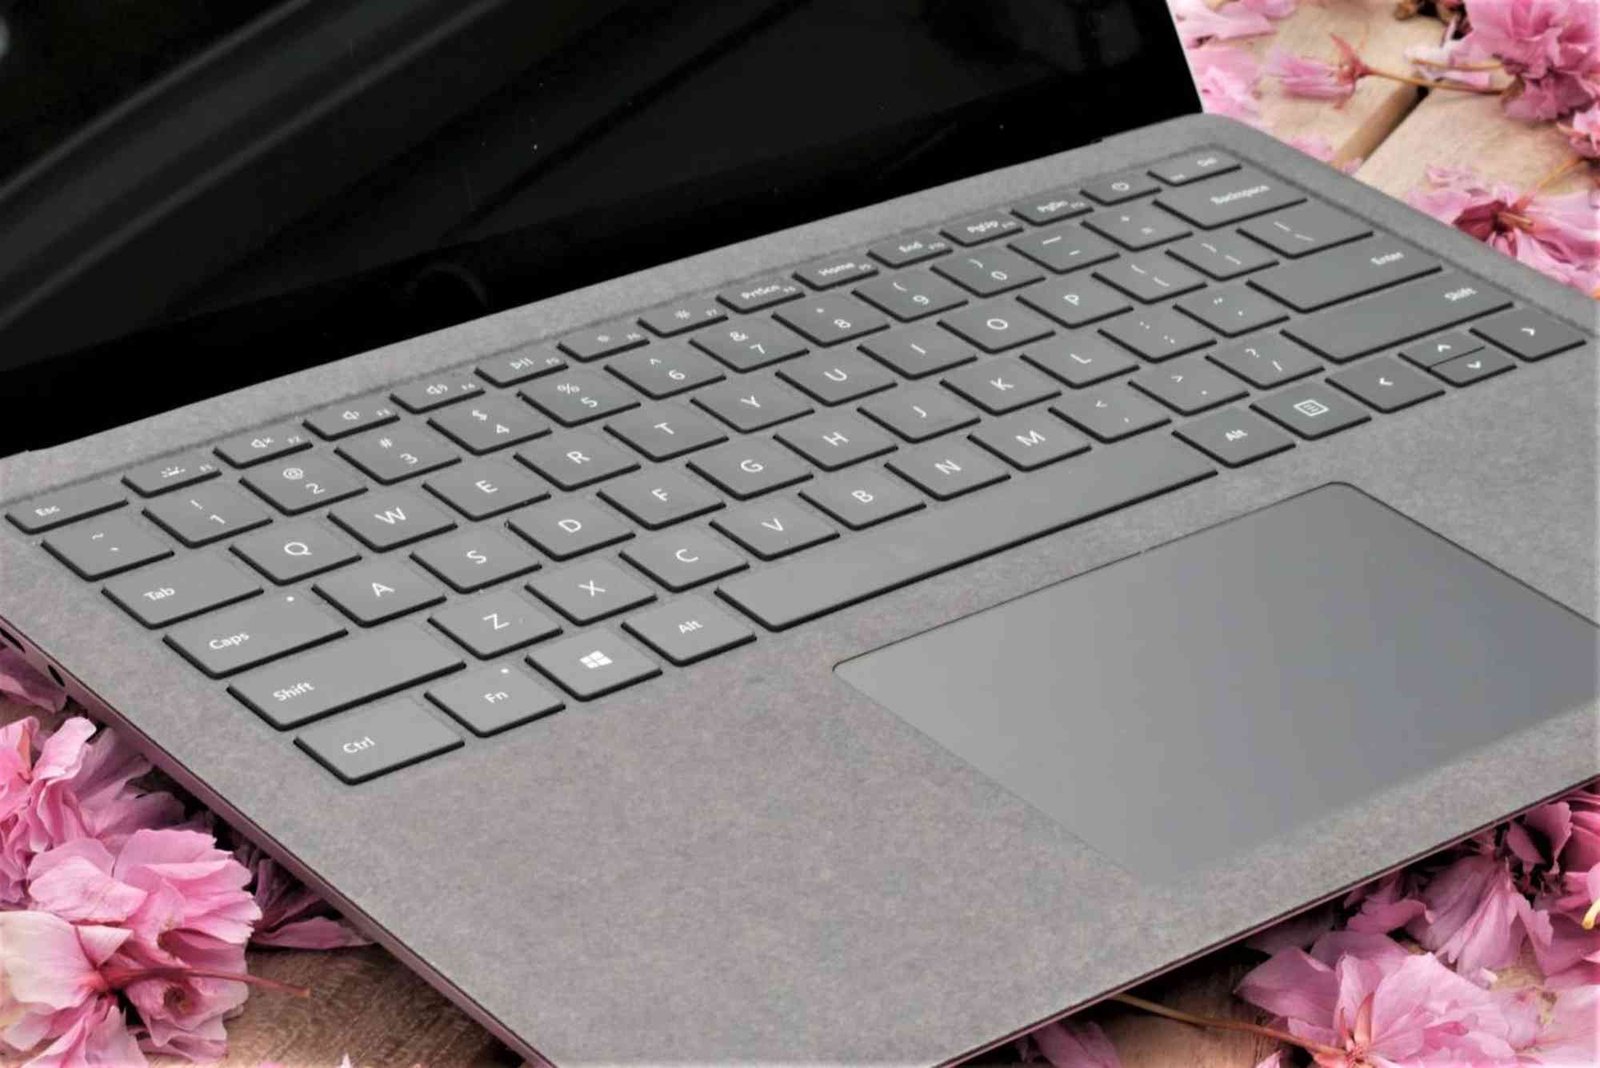
Pressing the PrtScn key captures the entire screen and copies it to your clipboard. You can then paste it into Paint, Word, or any image editor. On a Surface Laptop, this is typically combined with the Fn key:
Fn + PrtScn captures your entire display.
If you only want to capture the active window, use Alt + PrtScn. This combination saves time when multitasking across several apps or documents.
Windows + PrtScn for Auto-Saving Screenshots
For those who prefer automatic saving, the Windows + PrtScn shortcut is perfect. When pressed together, the screen briefly dims, and the screenshot is automatically saved to the Pictures > Screenshots folder.
This method is great for quick documentation, such as capturing presentation slides, website pages, or project updates without manually pasting them each time.
Snip & Sketch Keyboard Shortcut
Windows 10 and 11 include Snip & Sketch, a handy tool for capturing part of the screen. Press Windows + Shift + S to open it. Your screen will dim, and a small toolbar will appear at the top.
From here, you can select from four modes:
-
Rectangular Snip
-
Freeform Snip
-
Window Snip
-
Fullscreen Snip
Once you capture, the image automatically copies to your clipboard, and a notification allows you to edit or annotate it easily.
Using Built-In Tools for Custom Screenshots
Beyond shortcuts, Windows includes powerful screenshot tools designed for advanced users.
Snipping Tool
The Snipping Tool has been around for years and remains a favorite among Surface Laptop users. You can access it by typing “Snipping Tool” in the Windows search bar.
It allows you to capture freeform, rectangular, window, or full-screen snips. After taking a screenshot, you can highlight or annotate using a pen or touch. It’s particularly useful when working on tutorials, design feedback, or document reviews.
Snip & Sketch (Modern Replacement)
Although Snipping Tool still exists, Microsoft has gradually shifted to Snip & Sketch for newer versions of Windows. It’s more user-friendly and works well with Surface Pen input.
With Snip & Sketch, you can delay a screenshot for a few seconds—ideal for capturing drop-down menus or tooltips that disappear when you click elsewhere. Simply open the app, click “New,” and choose a delay option.
Capturing Screenshots with Surface Pen
If you’re using a Surface Pen, you can take screenshots without touching the keyboard. Press and hold the top button on the Surface Pen to open Snip & Sketch.
After the screen capture, you can annotate directly on the screenshot, making this tool perfect for teachers, designers, or anyone who prefers a hands-on approach.
You can customize the pen button’s function in the Surface app, choosing between launching Snip & Sketch or other capture options depending on your workflow.
Using Touchscreen Shortcuts
For tablet-style users, Surface devices offer a quick touchscreen method. Press and hold the Power + Volume Up buttons simultaneously to capture the entire screen. The image saves automatically to the Screenshots folder.
This method is especially useful when your keyboard is detached, or you’re using the Surface Laptop in tablet mode.
Using Third-Party Tools for Professional Needs
If you need more than basic screenshots, third-party apps can offer advanced features such as scrolling capture, annotations, and instant sharing.
Lightshot
Lightshot is a lightweight tool that replaces the Print Screen function. It allows you to select any part of the screen, edit instantly, and share online.
Greenshot
Greenshot is another popular option for productivity-focused users. It lets you capture, annotate, and save screenshots automatically with customizable hotkeys.
Snagit
For professionals who regularly create tutorials or presentations, Snagit by TechSmith is the most robust option. It provides video recording, step-by-step guides, and cloud sharing—all from a single interface.
Saving and Editing Screenshots on Surface Laptop
Once you’ve taken your screenshot, knowing how to save and manage it efficiently is key.
Screenshots saved via Windows + PrtScn automatically go to Pictures > Screenshots. Others, like those captured through Snip & Sketch or third-party apps, can be manually saved or copied to the clipboard.
You can open these files in Paint, Microsoft Photos, or any photo editor to crop, resize, or annotate them. For professionals, editing screenshots to highlight important data can make your visuals more informative and polished.
Common Issues and Troubleshooting
Even though the process is simple, some users encounter minor issues.
If your PrtScn key doesn’t work, check your Function (Fn) key setting—some Surface Laptops require enabling it. Also, ensure your keyboard drivers are up to date.
When using Snip & Sketch, if nothing happens after pressing Windows + Shift + S, make sure your Windows update includes the latest Snip & Sketch feature. Restarting the app or the system often resolves such issues.
Bonus Tips for Effective Screenshot Management
To stay organized, regularly rename your screenshots. For instance, “Meeting_Notes_June2025” is easier to find than “Screenshot(10).”
For professionals, cloud services like OneDrive or Google Drive can automatically sync your screenshots, ensuring they’re backed up and accessible anywhere.
If you frequently take screenshots for guides or content creation, create a dedicated folder by project or topic for easier reference.
Why Knowing These Methods Matters
Screenshots are more than just digital images—they’re essential tools for communication, learning, and productivity. On a Surface Laptop, mastering different capture techniques can streamline your workflow, enhance collaboration, and reduce errors.
Whether documenting software bugs, recording visual notes, or creating digital tutorials, these Practical Tips: Screenshot On A Surface Laptop A Comprehensive Guide methods will empower you to capture and share with confidence.
For additional information and tech tutorials, check out this Related Tech article.
FAQs
How do I take a screenshot on my Surface Laptop using the keyboard?
Press Windows + PrtScn to capture the entire screen. The screenshot automatically saves to your Pictures > Screenshots folder.
Can I take a screenshot on a Surface Laptop without a keyboard?
Yes. Press Power + Volume Up simultaneously on the touchscreen. The screen will flash, and the image will save instantly.
Where are my screenshots saved on the Surface Laptop?
By default, screenshots are stored in Pictures > Screenshots. However, you can also paste them directly into apps like Paint or Word.
Does Snip & Sketch replace the Snipping Tool?
Yes. Snip & Sketch is the updated version offering additional features such as delayed capture and better editing tools.
Can I use the Surface Pen for screenshots?
Absolutely. Press and hold the pen’s top button to open Snip & Sketch. You can then capture, edit, and annotate easily.
Capturing screenshots on a Surface Laptop doesn’t have to be confusing. With these practical tips, you now have a complete understanding of every method—from quick shortcuts to advanced editing options. Whether you’re capturing a moment of inspiration or recording vital data, these techniques help you work smarter and faster.
If you found this Screenshot On A Surface Laptop A Comprehensive Guide helpful, explore more digital insights and tutorials in this Related Tech article. For a broader look at productivity and technology trends, Learn more and enhance your tech expertise today.

